Hey! I'm David, cofounder of zkSecurity and the author of the Real-World Cryptography book. I was previously a crypto architect at O(1) Labs (working on the Mina cryptocurrency), before that I was the security lead for Diem (formerly Libra) at Novi (Facebook), and a security consultant for the Cryptography Services of NCC Group. This is my blog about cryptography and security and other related topics that I find interesting.
I gave a talk about my paper at the NCC Group office in Chicago and recorded myself.
If you have any questions, you think something was not clear, badly explained, etc... I'll take any feedback since this is going to be my master defense in two weeks.
Alright! My master thesis is done. Here's a download link
It's a timing attack on an vulnerable version of OpenSSL. In particular its ECDSA signature with binary curves.
There was an optimization right before the constant-time scalar multiplication of the nonce with the public point. That leads to a timing attack that leaks the length of the ephemeral keys of an Openssl server's signatures.
In this paper I explain how to setup such an attack, how to use lattices to recover the private key out of just knowing the lengths of the nonces of a bunch of signatures taken during an ephemeral handshake.
If this doesn't make sense to you just read the paper :D
Also everything is on this github repo. You can reproduce my setup for a vulnerable server and an attacker. Patch and tools are there. If you end up getting better results than the ones in the paper, well tell me!
In public-key cryptography and computer security, a root key ceremony is a procedure where a unique pair of public and private root keys is generated. Depending on the certificate policy, the generation of the root Keys may require notarization, legal representation, witnesses and ‘key holders’ to be present, as the information on the system is a responsibility of the parties. The 'best practice' is to follow the SAS 70 standard for root key ceremonies.
The actual Root Key-Pair generation is normally conducted in a secure vault that has no communication or contact with the outside world other than a single telephone line or intercom. Once the vault is secured, all personnel present must prove their identity using at least two legally recognized forms of identification. Every person present, every transaction and every event is logged by the lawyer in a Root Key Ceremony Log Book and each page is notarized by the notary. From the moment the vault door is closed until it is re-opened, everything is also video recorded. The lawyer and the organization’s two signatories must sign the recording and it too is then notarized.
Finally, as part of the above process, the Root Key is broken into as many as twenty-one parts and each individual part is secured in its own safe for which there is a key and a numerical lock. The keys are distributed to as many as twenty-one people and the numerical code is distributed to another twenty-one people.
Hey you! So mmm, I don't know if you've been reading my blog for long, but it all started when I got accepted at the University of Bordeaux' Cryptography Master. At first it was just a place where I would talk about my (then) new life in Bordeaux and what I was doing in class.
2 years and 287 blog posts later, here I am, still blogging and still in school. But not for long! Well not in school for long, I'm still gonna blog don't worry.
So yeah, the big news is, I'll be starting full time as a security consultant for the Cryptography Services team of NCC Group in November!
Woop woop!
Pardon? You are here for the crypto? ah umm, wait, I have this:
I've done a new video. It is an explanation following the paper Dual EC: A Standardized Backdoor by Daniel J. Bernstein, Tanja Lange and Ruben Niederhagen.
I tried to replicate the results. But to make it interesting I explained in more details how to mount this attack. There are lattice involved. It should be pedagogical.
Well... it should be.
Can I ask for your help? If you have time to spare, read a tiny part of this whitepaper and tell me if something seems odd, wrong, or badly explained.
I'll credit you here, you will have my eternal love and I will buy you a beer at one point.
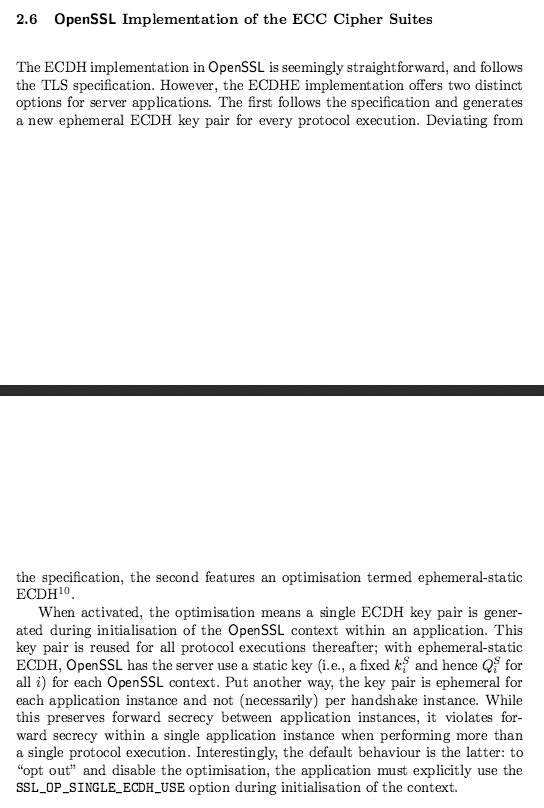
I bought my Defcon badge through Blackhat to avoid having to move out of the Mandalay and miss some of the talks. Avoiding the long-and-early-in-the-morning lines of Defcon and still getting a "real" badge is also part of the benefits. So after lining up for 30 seconds at a small stand between two talks, I received a plastic bag with a program printed as a newspaper and several CDs containing music (I assume, but who owns a CD player nowadays?). The Defcon badge was an old and white record, apparently every other year the badge is non-electronic.
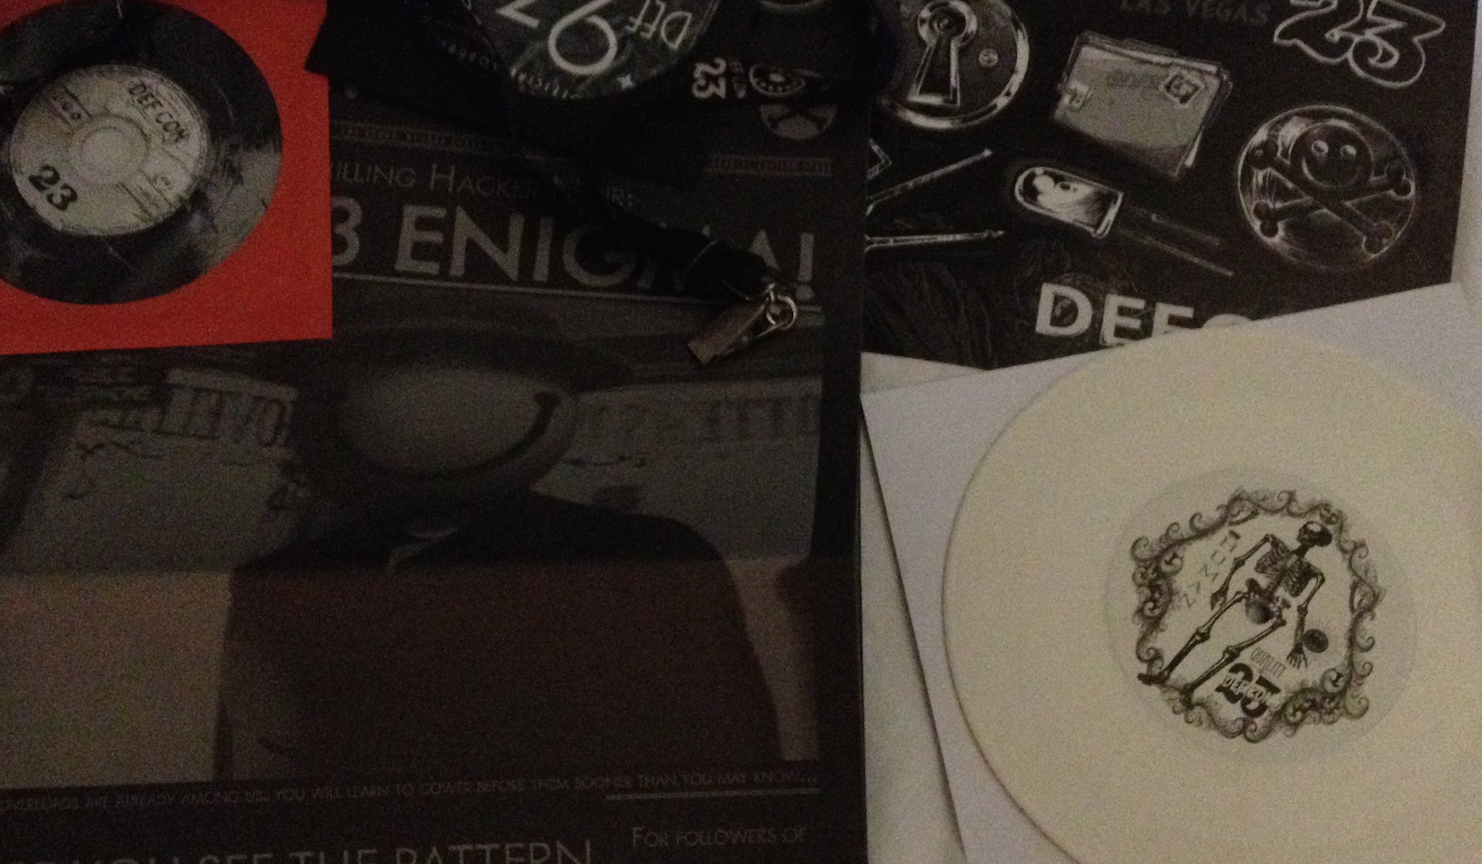
Defcon was taking place in Bally's and Paris this year. The talks were in Paris, the rest was in Bally's. If you wanted to mix them up you had to change casino over and over. The two are connected but it's still a pain.
I missed the first two days of Defcon. Well the first day isn't actually an official one as it takes place outside in a public park. The "toxic barbecue" is a gathering where people bring booze and meat. The second day, the official Defcon first day, is a single track of introductory talks that takes place in their Conference Center.
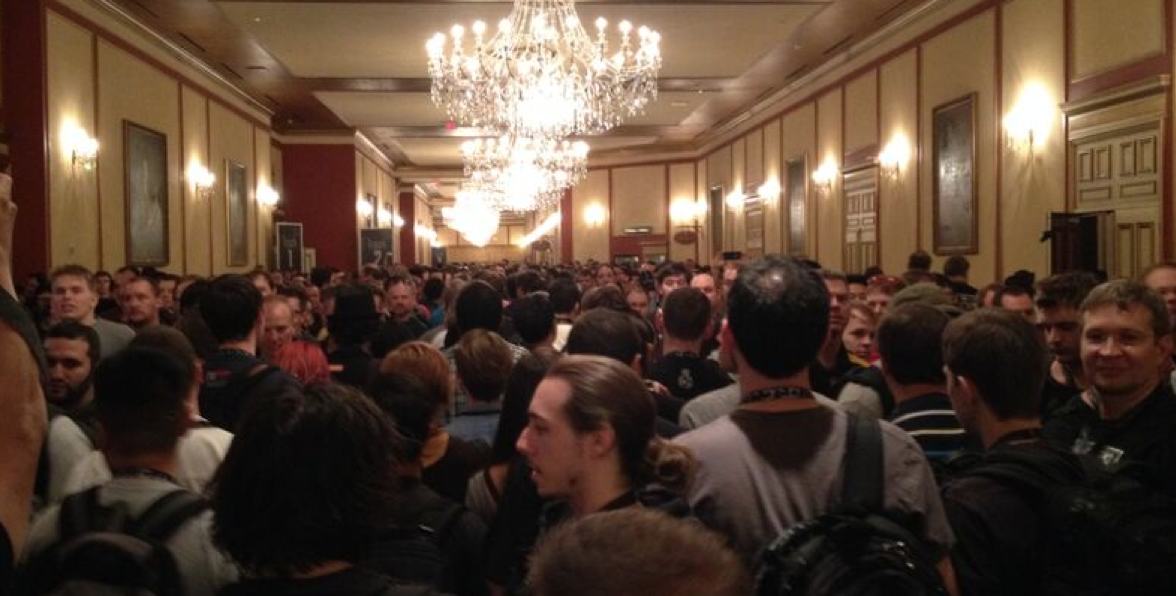
So I arrived in what I thought was something that already started, but all of blackhat and others that wanted to get the real deal were now rushing to the Defcon's talks, all at the same time. It was packed, the lines were not moving and the staff was screaming. I was starting to miss the organization of Blackhat.
After leaving my first talk, I figured I would never go to another talk again. But they finally moved the 101 track (talks that are more for begginers) and things got better.
And then I went to visit the other side of Defcon, and that's where everything made sense
The Villages
My favorite part of Defcon was the Villages, small sized rooms (compared to the ones hosting the talks) where people of common interests gather and spend their whole Defcon together.
The crypto Village was great, apparently Diffie was there. Other renown cryptographers hung out there too and I met a bunch of people I had always wanted to meet :) (although most conversations were short, I guess others were more at ease in this kind of environment than me).
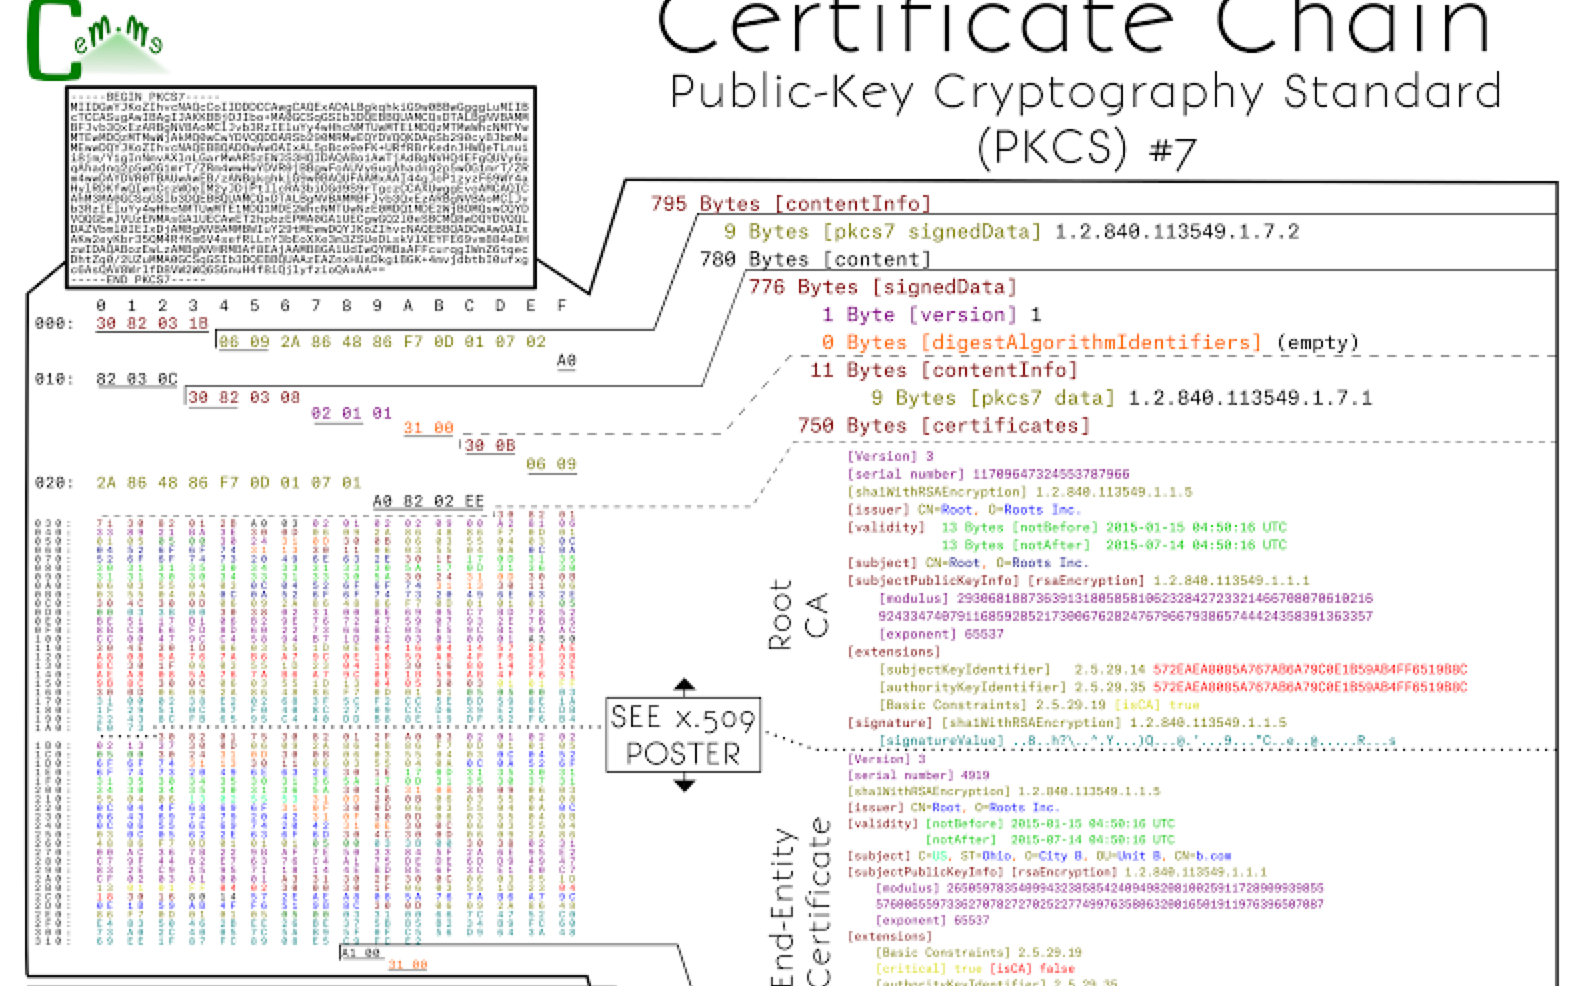
There were a bunch of posters everywhere on the walls. Here's my favorite one from Tony Arcieri:
Every hour, or 30 minutes, there was a talk. I left Defcon thinking that I should get more involved in this crypto village and that I should submit a talk for the next one.
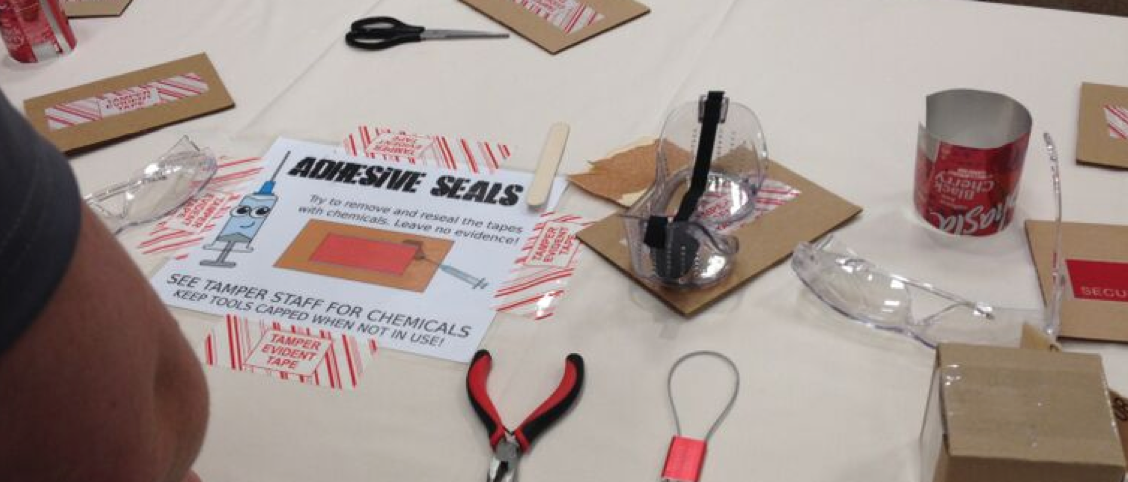
There were maybe a dozen of other Villages. There was a lock picking one, but you had to buy your own gear so I passed (although I really wanted to do it).
After Defcon, sitting in the plane I read their "newspaper" and realized there was much more. There was a huge number of things that I didn't even know were going on. I could even have went and met some of them somewhere in the desert to shoot range.
I felt like I did nothing. I was a lurker and I took part in none of the cool things. Next time I will come prepared.
The Parties
The parties were definitely better than the Blackhat ones. The Facebook student party was the best I got to do, few people, no loud music and a "bingo" game where you were handed a card with a bunch of "can do X" or "is X at facebook" and you had to find a facebook employee/intern that could sign it for you. If you got a full row plus a column signed you won. This was awesome as it gave you an excuse to go talk to them.
There was also a party in a suite of the hotel were I got to meet a lot of really cool people in the field as well. The funny thing is that everywhere I went, even at these parties, a huge amount of the people present were from my company (NCC Group) which made things super easy to meet people, we also were all wearing the company Tshirt.
The Rest
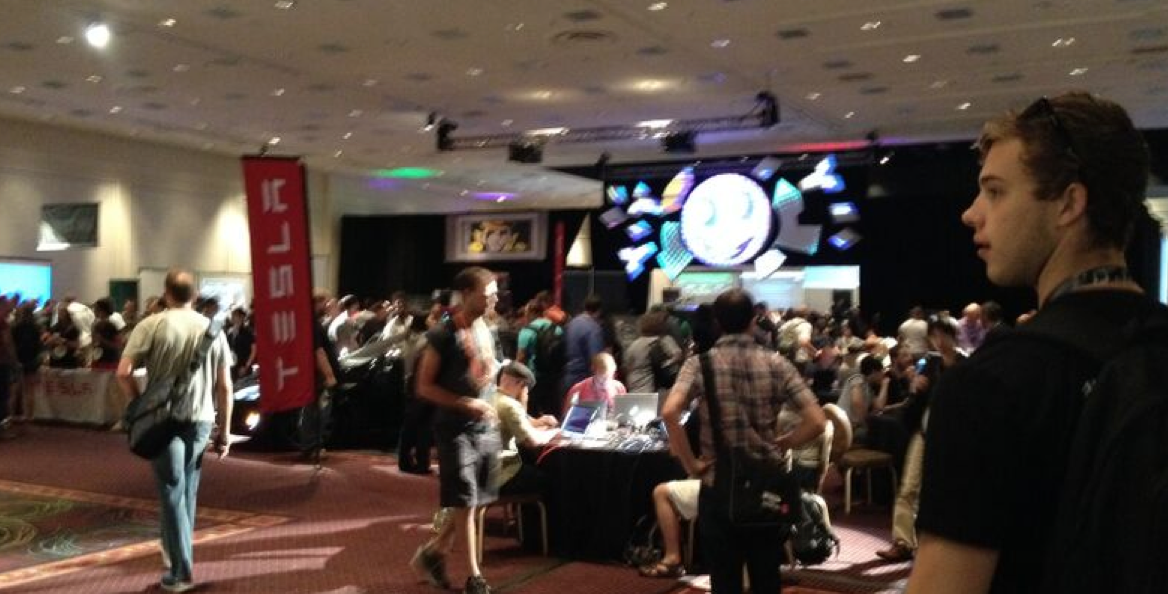
There was a main room full of tables, people hacking, people playing, weird people handing me papers and tokens and telling me cryptic passphrase. Other weird people holding huge antennas and pointing them at everyone obviously looking for something/someone.
There was an OpenCTF space, and a CTF space as well with korean, french, american and chinese teams just sitting there on their computers and cracking stuff. I was not allowed to take a picture there :() Hacking contests are everywhere. The ambiance is nothing like Blackhat (Which is way more corporate). Between weird things happening on my wifi, the femtocell found in between the two casinos and the non-stop protocol downgrades on our phones, we felt like everyone was trying something on you.
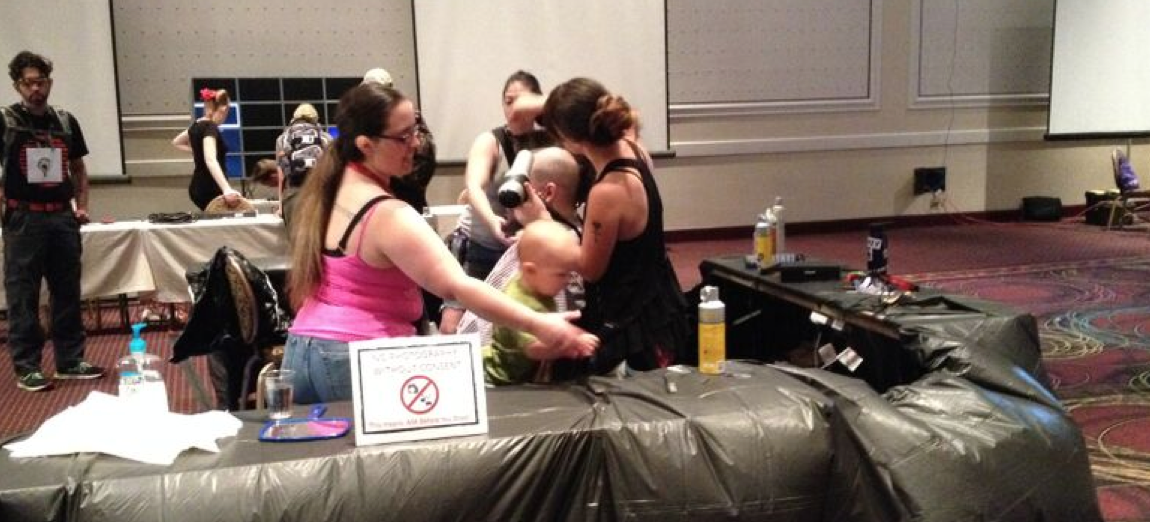
A stand to cut your hair and make you a mohawk. A spaceX stand giving out posters.
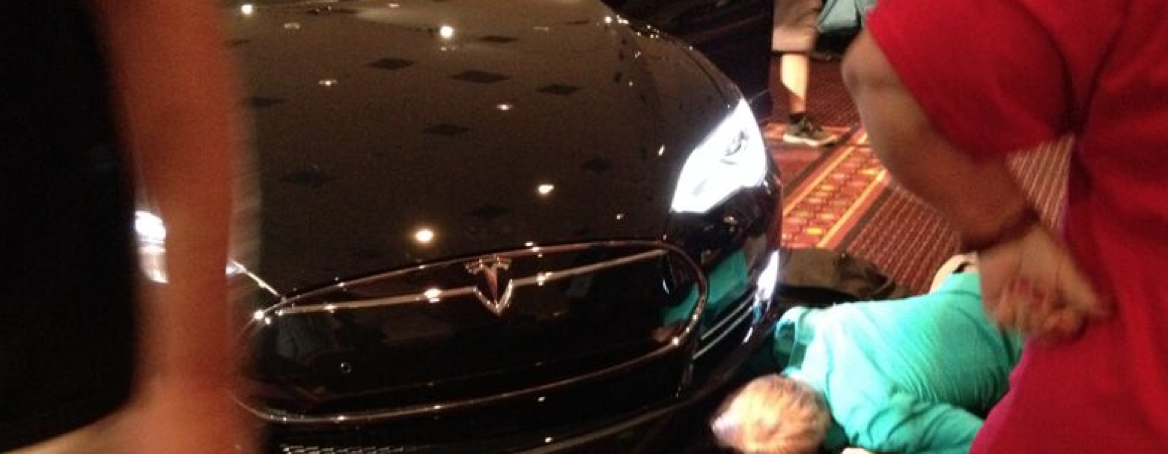
A tesla hacking stand, someone on the floor looking at it. I heard they dismantled the whole car at one point.
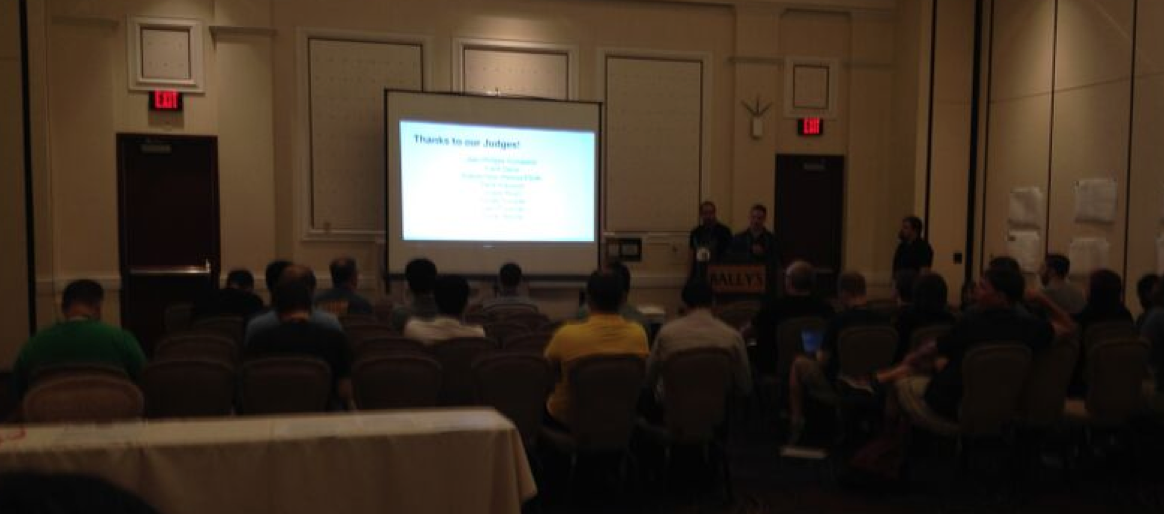
and Finally... Hacker Jeopardy
This post makes no sense, but Defcon made no sense. It was awesome.